Stop me if I’ve already told you this story:
When I was in elementary school growing up here in the Adirondacks, my art teacher shared with our class the fact that she disliked telephone poles. Not that I knew anyone who necessarily loved them, but until she mentioned it, I hadn’t really noticed the fact that those miles of tall, uniform-looking posts connected by wavy lines of wire really mucked up the gorgeous landscape.
About a kazillion years later, I’m STILL annoyed almost every day by how those utility poles ruin some of the potentially award-winning photographs I could have taken with my smartphone on the commute to work.
Similar to the day that I was made aware of the utility poles, it took just one day to entirely change the way I experience hiking, or even walking in the woods, too.
Remembering to See the Trees for the Forest
Shortly after waking up one recent morning, I looked outside at a large pine tree near our house. It had a strange abnormality - a scar, if you will, and I thought to myself, “What caused that scar? A fungus, maybe?”
This is a departure from my typical method of operation in the morning. Not long ago, I’d look out that window merely to determine how late I’d slept via the amount of and height of the sun - and neglect to see any of the trees for the forest.
This remarkable change occurred because of a one day hike in the Pharaoh Lake wilderness.
It wasn’t any old hike - it was the first time that I had hiked along with a licensed Adirondack Guide, and one that is a naturalist, at that.
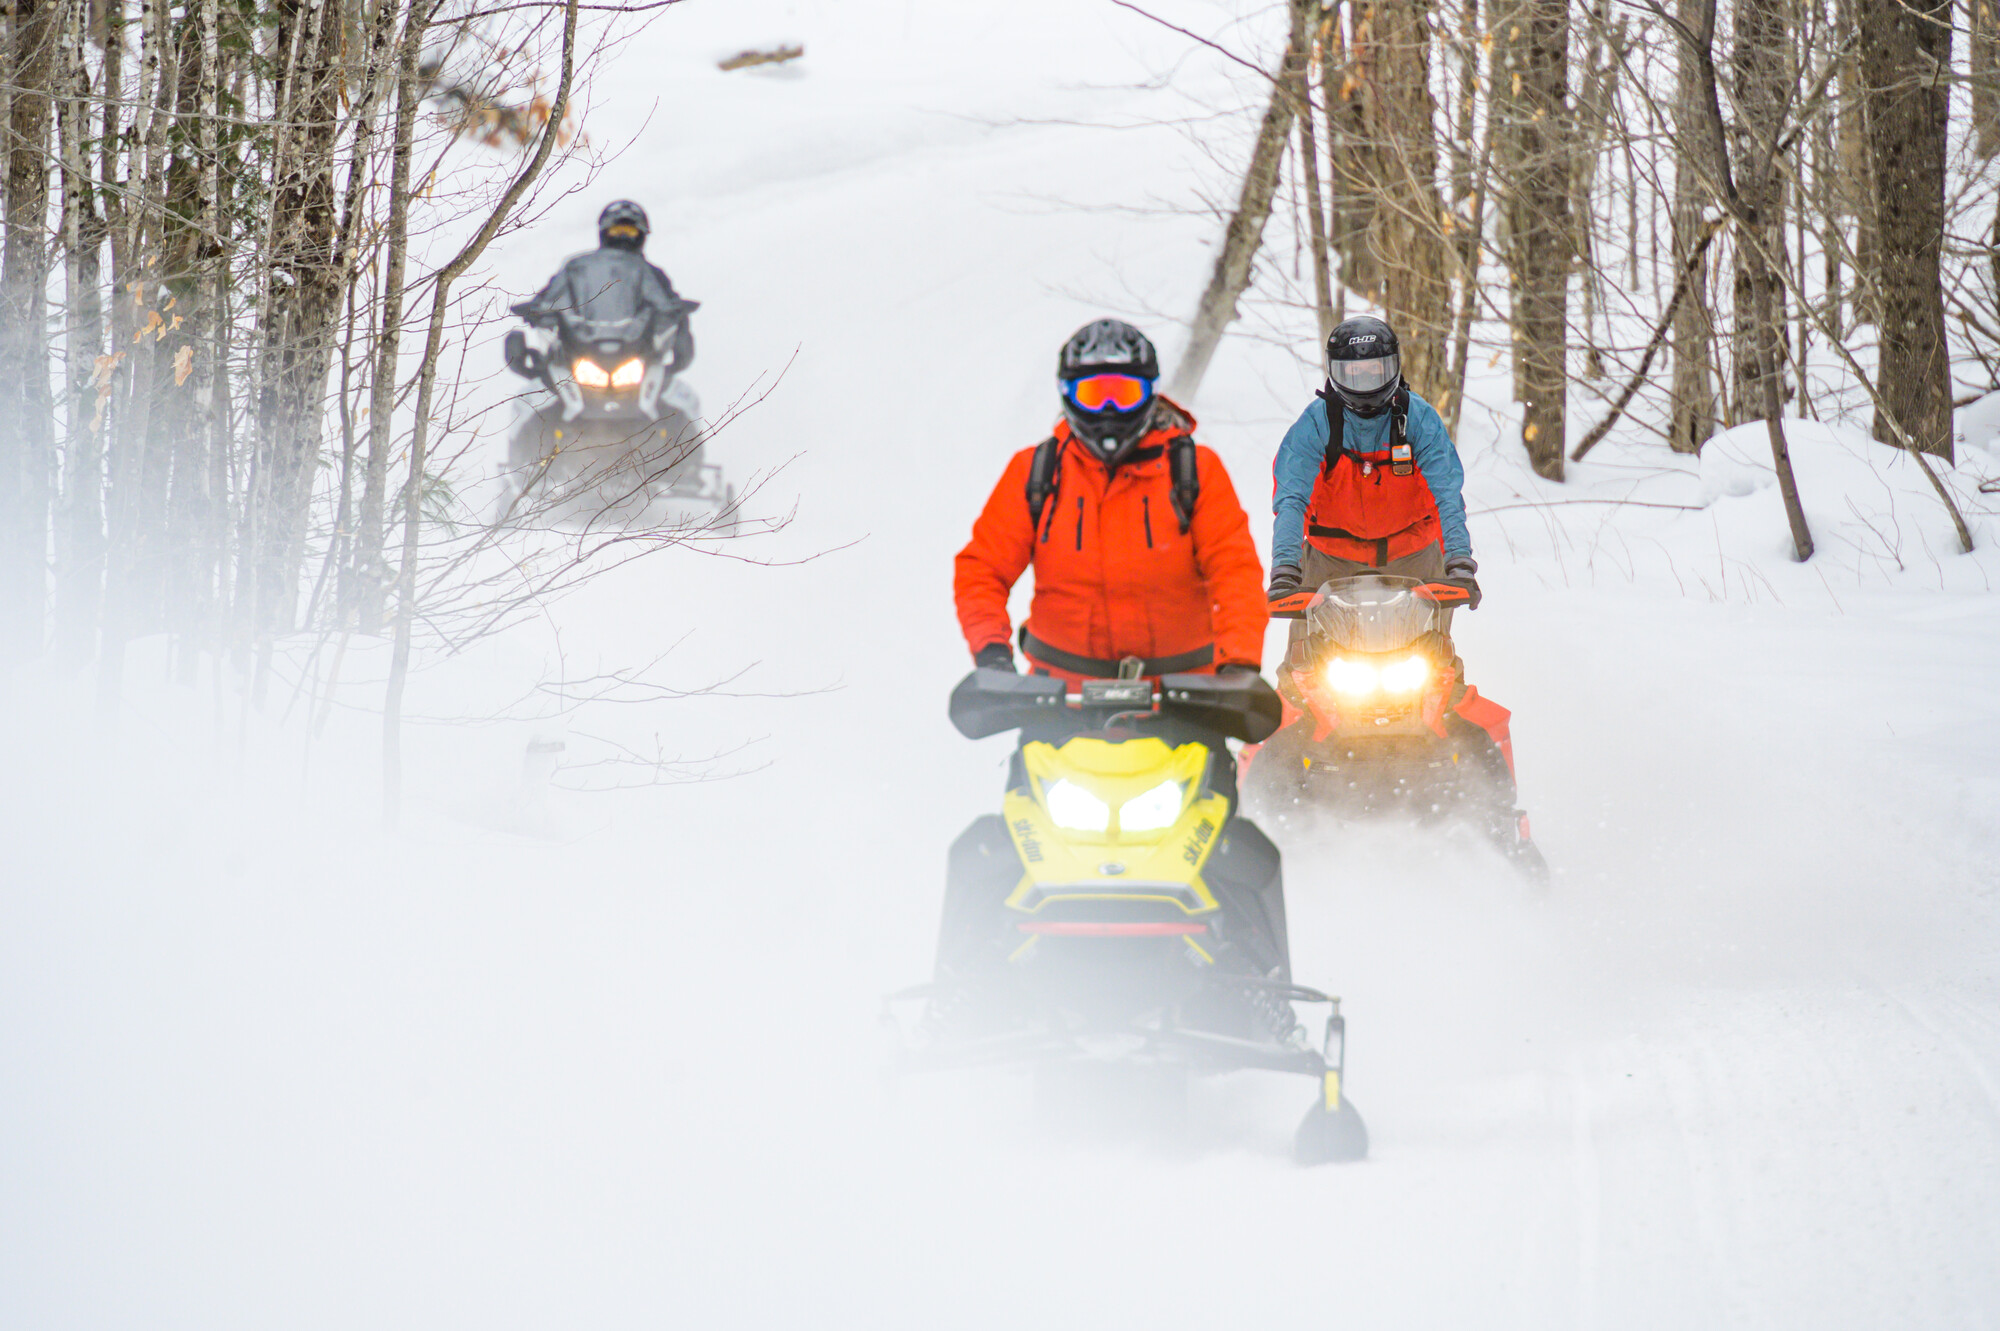
I’ve done a bunch of hiking in the Adirondacks and beyond - we live in our very own paradise, and getting out onto the trails provides an opportunity for total immersion in our beautiful landscape. Typically, however, it seems that the goal of the hiking I’ve done has really been to climb just as fast as possible to get to the top and “bag a peak,” stopping infrequently to drink water or catch my breath.
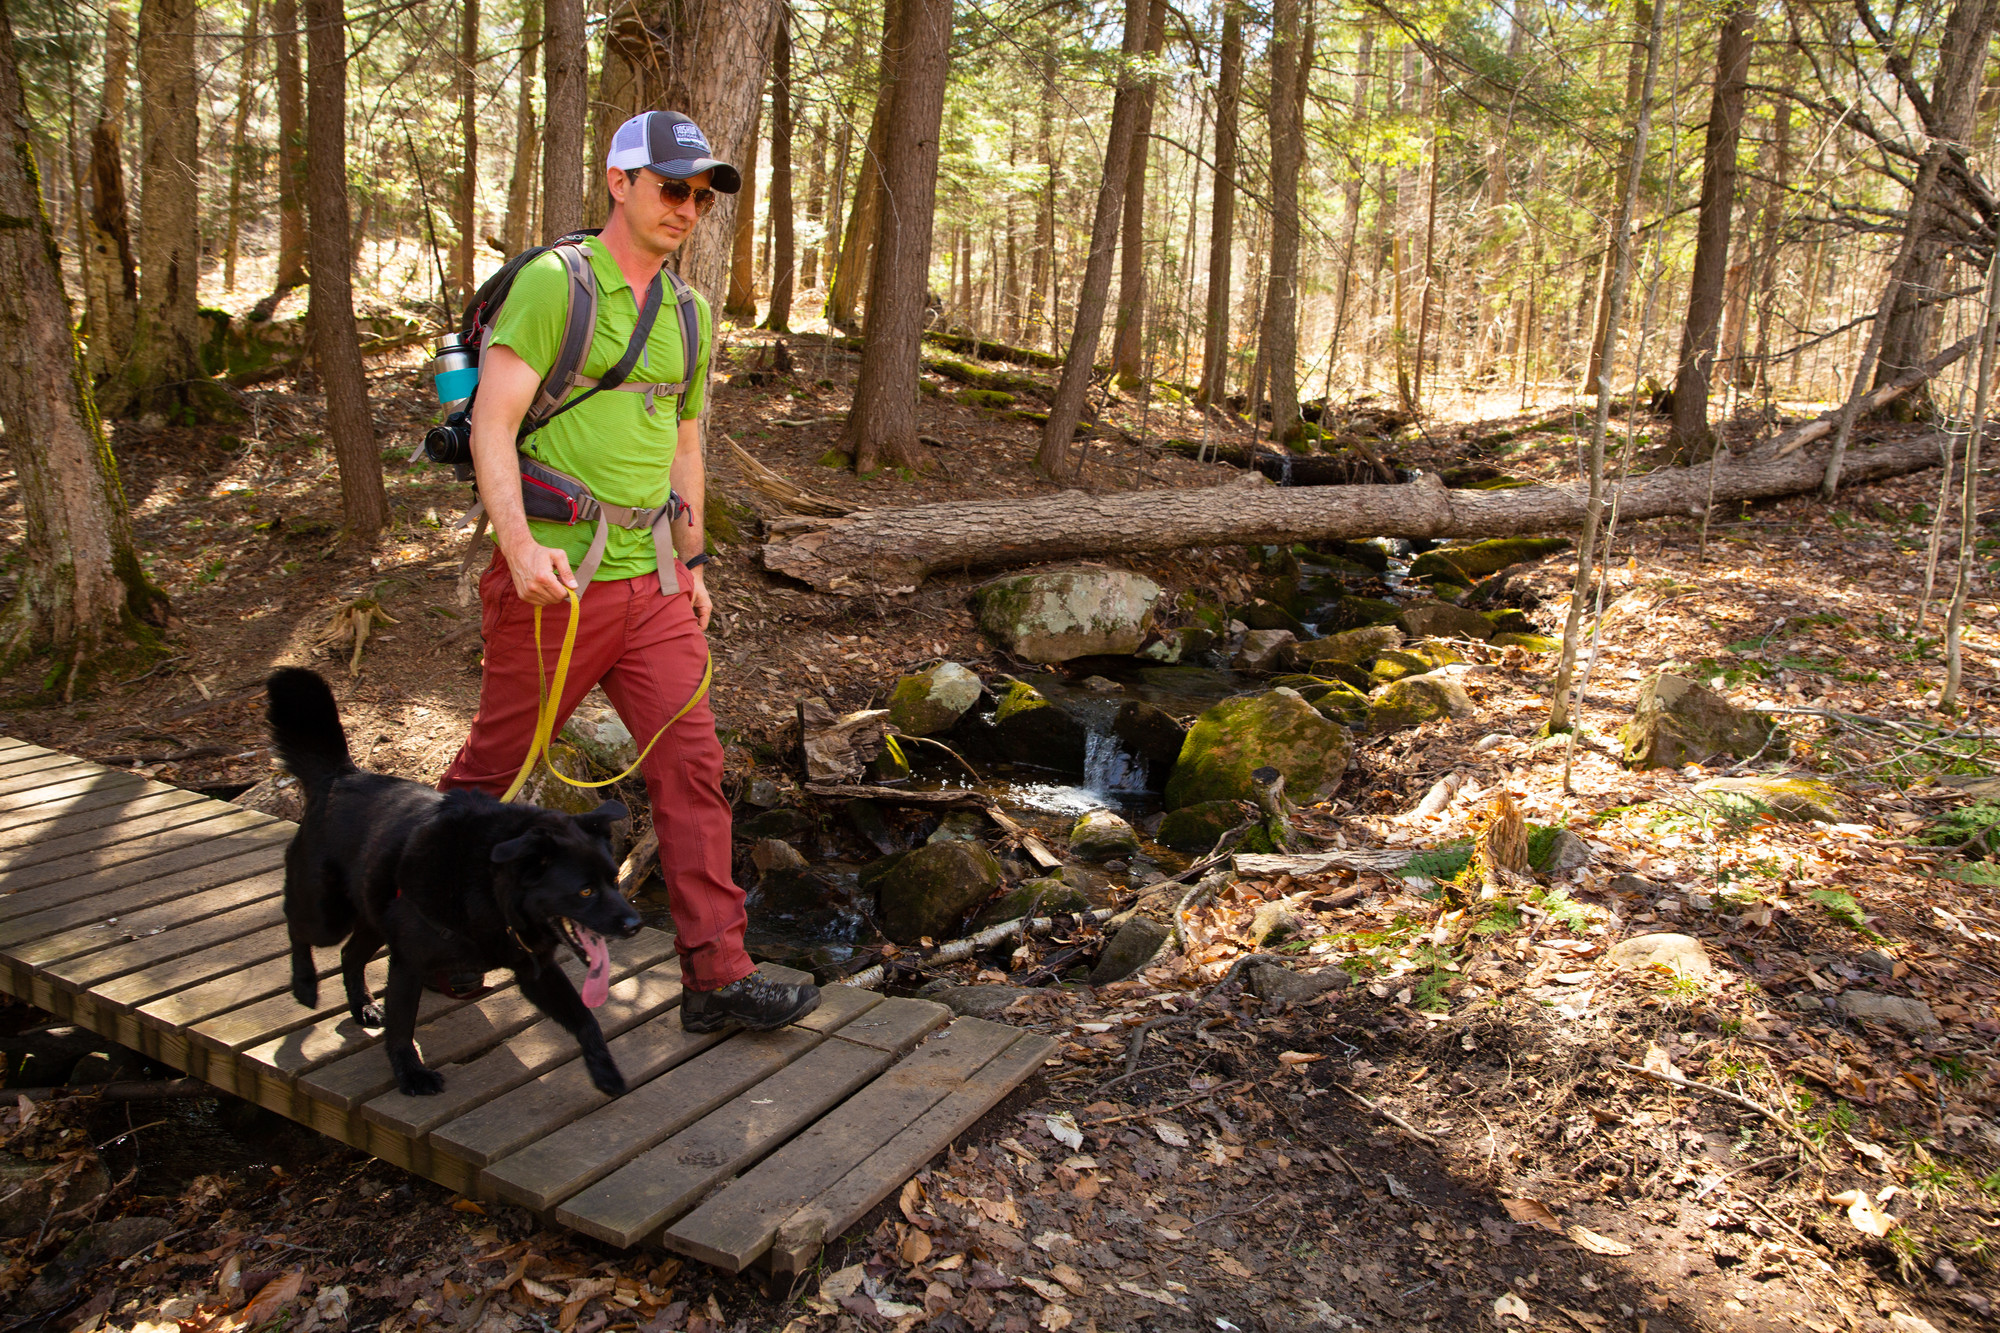
I was thrilled one early spring to have the opportunity to join a guided hike led by N.Y.S. Licensed Adirondack Guide and naturalist Elizabeth Lee. It was to be a full-day’s adventure with four other women on a trail I’d wanted to explore for years.
And it was about to change the way I experienced hiking forever.
Hiking to Oxshoe Pond
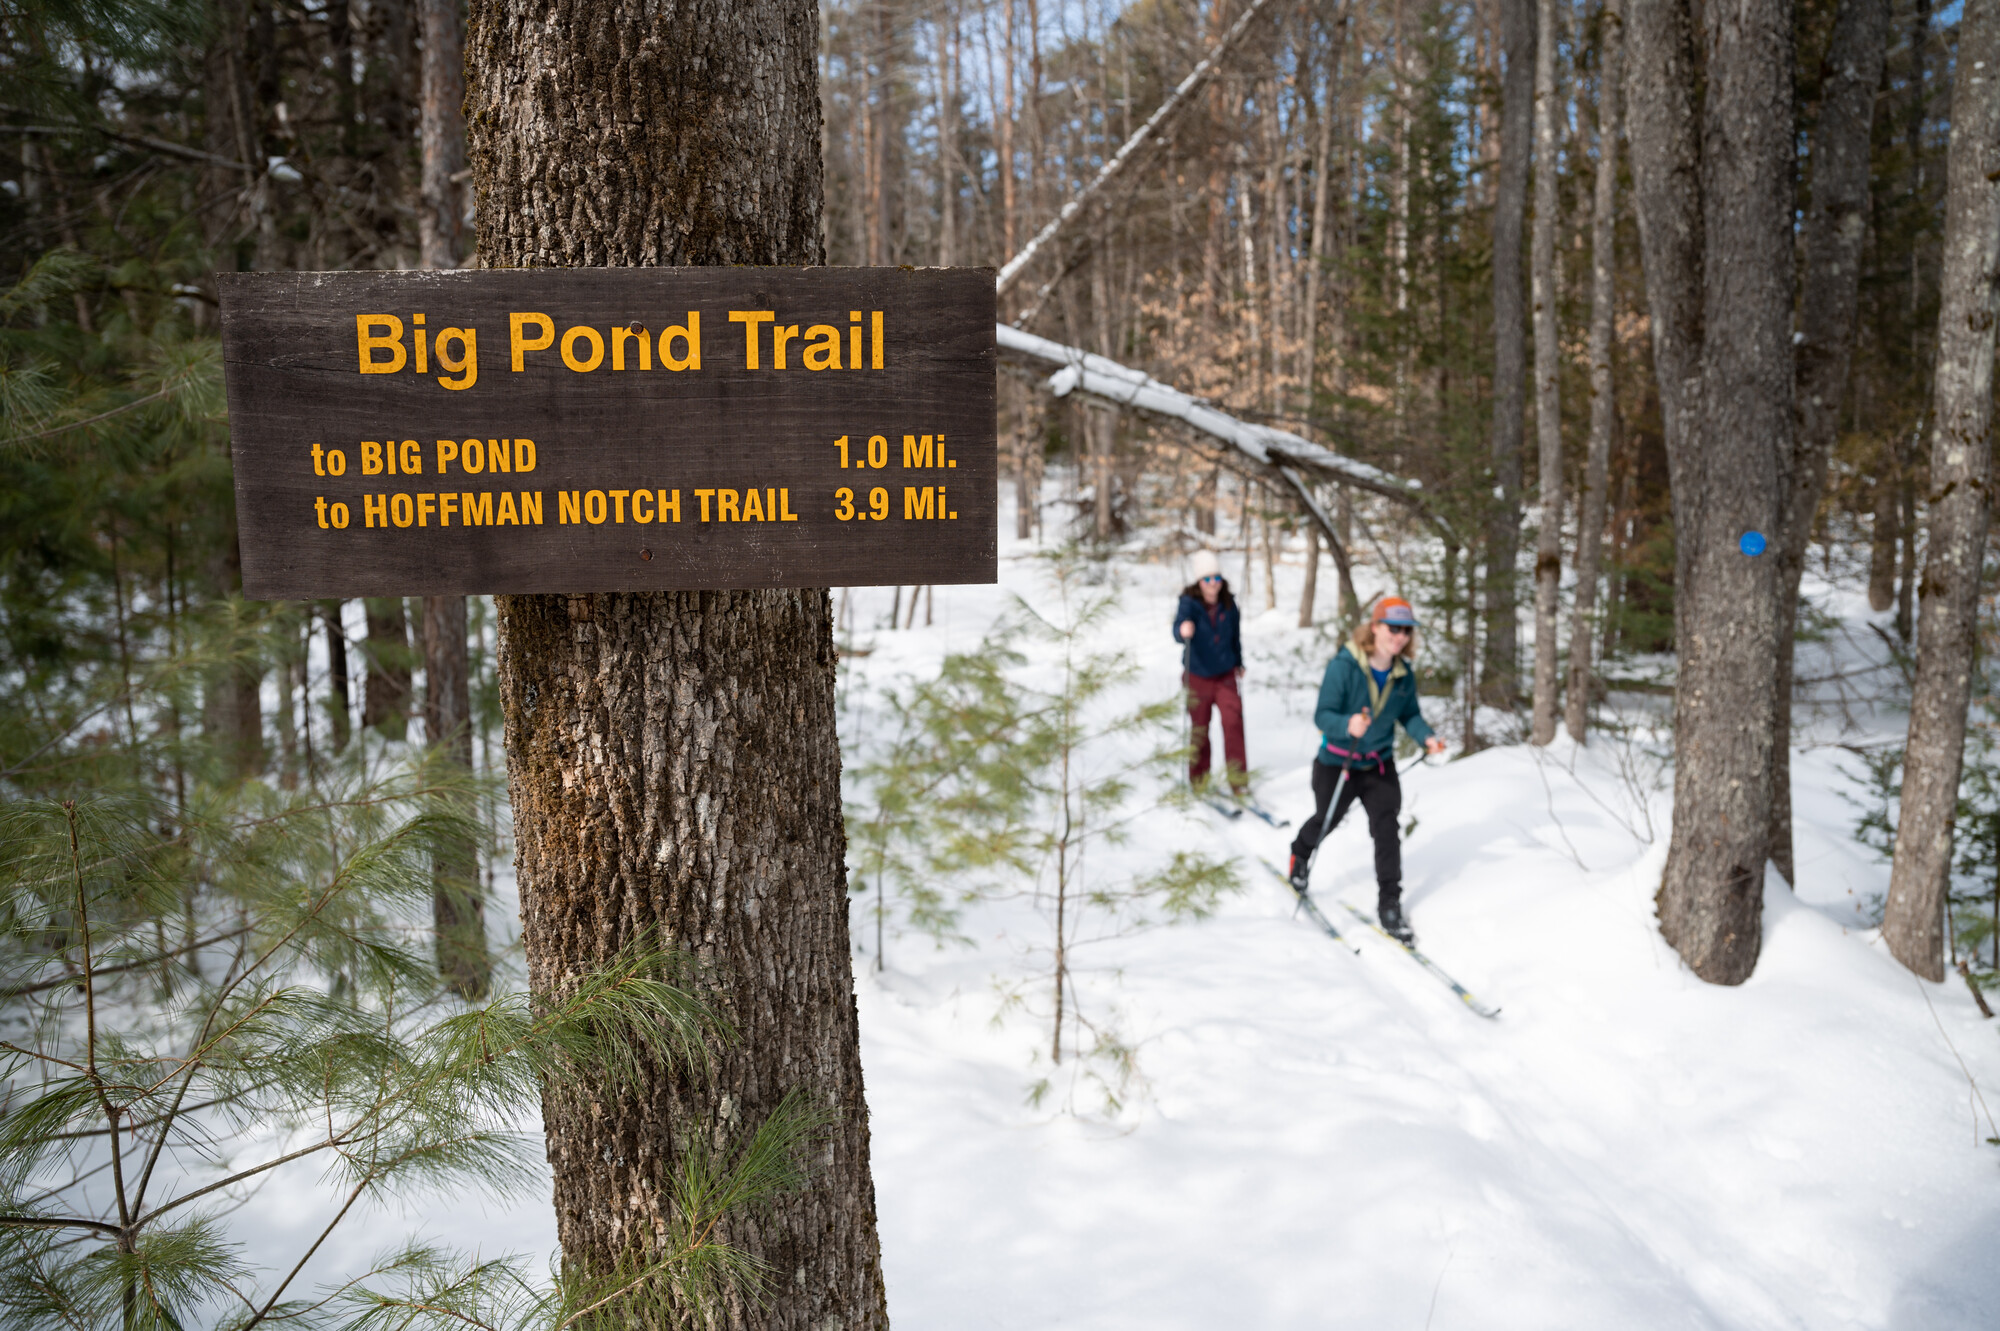
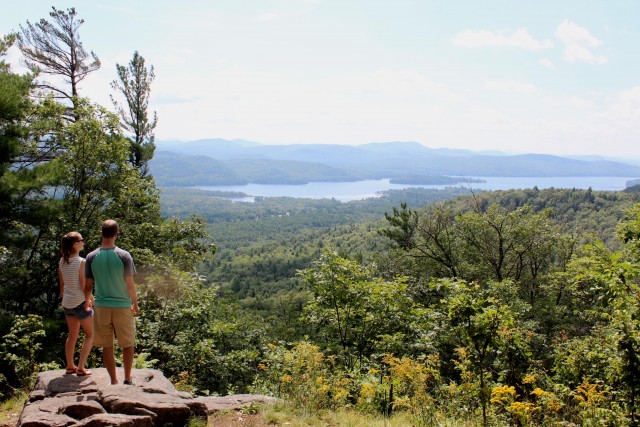
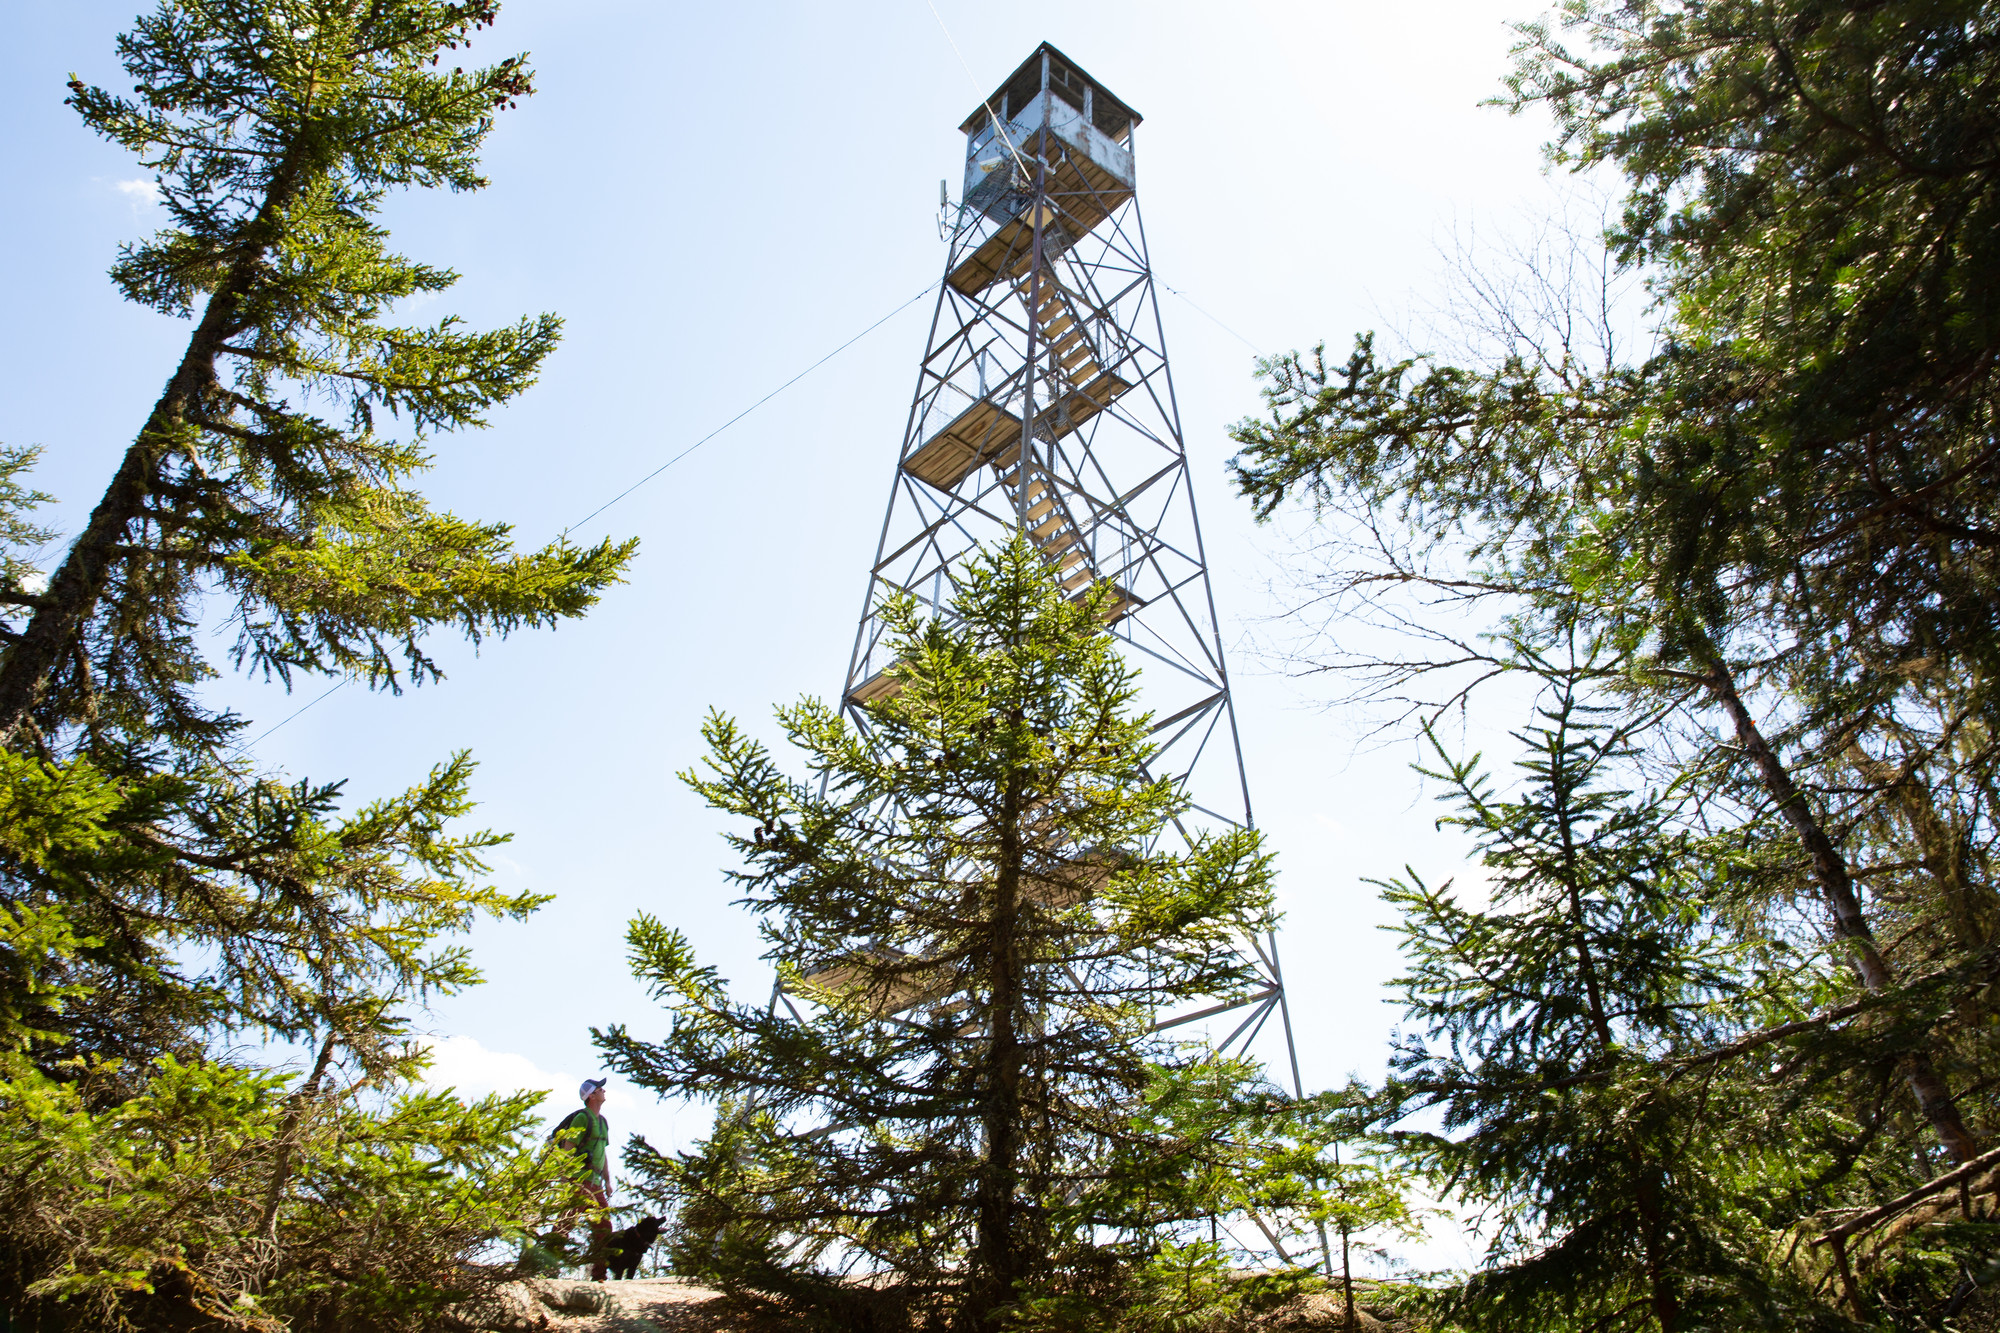
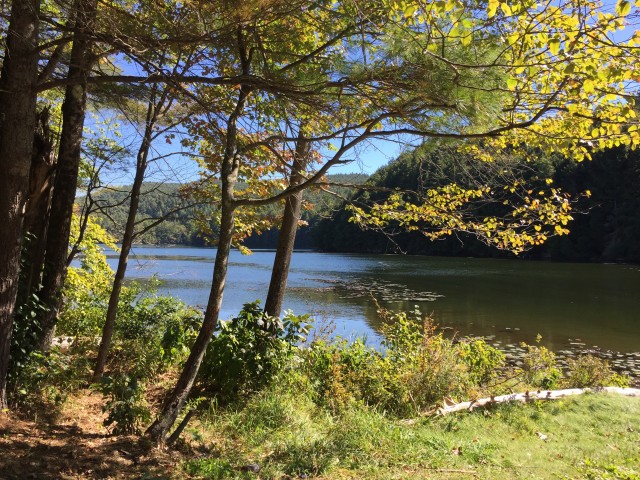
The Pharaoh Lake Wilderness Area in the Schroon Lake region contains 39 bodies of water covering 1,100 acres, 62.8 miles of foot trails, and 14 lean-tos.
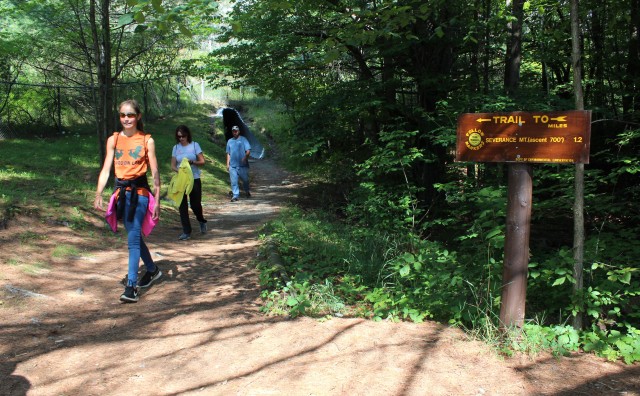
On this particular day, we set out from the trailhead on Route 74 to hike the Long Swing Trail to Oxshoe Pond, an out-and-back hike of about 9-10 miles total with an elevation gain of less than 500 feet. I knew we were in for a nice, rolling hike.
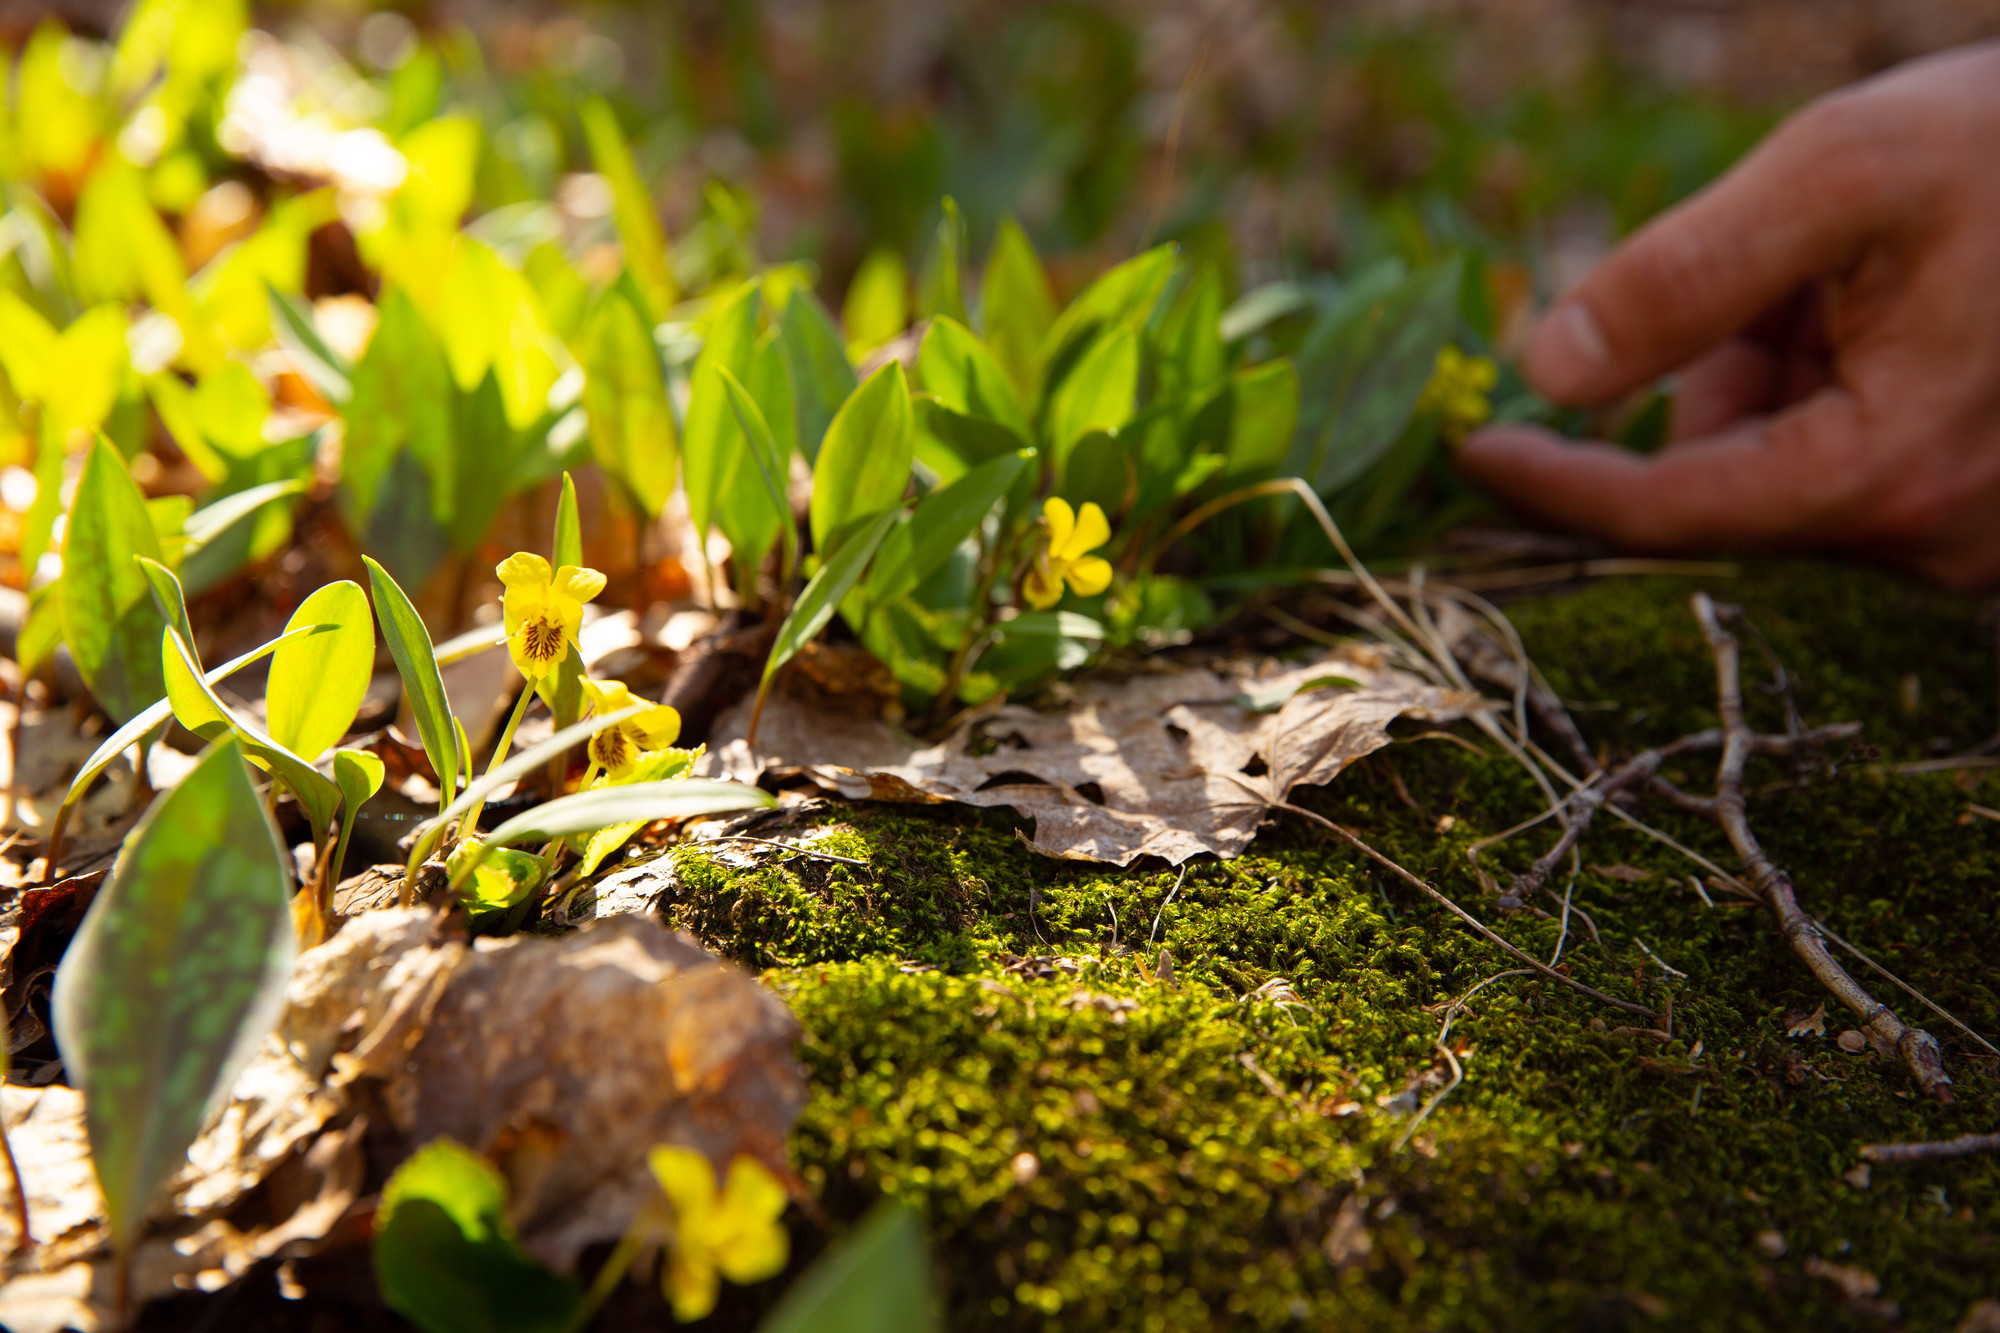
We hadn’t gone more than 100 feet when we stopped. A naturalist, Elizabeth pointed out the first of many details that we might (would) have otherwise missed. Now, I thought I had a good understanding of the food chain and ecosystem, but seeing the forest through Lee’s eyes provided me with a whole new perspective.
She pointed out the difference between the seeds in what turns out to be a wide variety of cones from the equally varied trees, and explained just who had been eating them. The faint scrape on a tree was actually where a deer had rubbed its antlers, likely a couple of years before. The fur that was all that was left of a snowshoe rabbit (apparently numerous in this region). It was likely taken by a coyote, who are equally numerous, based on the number of tracks we could see in a variety of locations throughout the day.
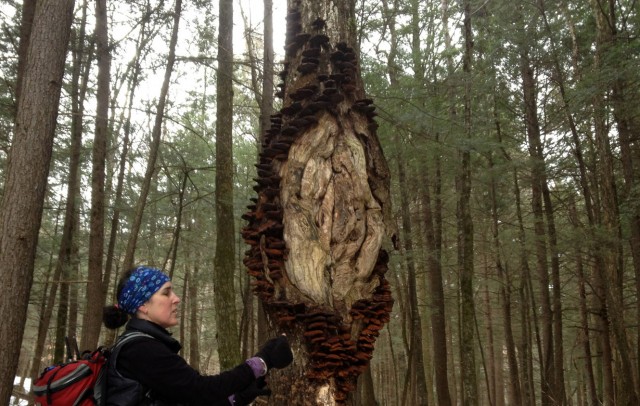
We stopped at one point and all walked off trail to see a strange formation on a tree. Nature’s art, Elizabeth called it. And it is...a large hole formed by a fungus, surrounded by small fungi of another sort.
We analyzed and debated about the type of trees that could have shed certain fallen leaves (an ash leaf warranted the longest debate), solved mysteries about animal and bird scat (droppings), sighted old and current beaver lodges, discussed fungi and both their negative effects and complimentary contributions to trees. And a few times, we stopped just to listen to the sound of the forest.
The Pharaoh Lake Wilderness is a lake- and pond-riddled forest. We passed Blue Hill, Pyramid Lake, Alder Pond, Glidden Marsh, Crane Pond, through a forest with primarily a high canopy and little underbrush. After about three and a half hours, we reached the lean-to at Oxshoe Pond for a lunch break where we refueled on a combination of healthy food and chocolate.
Lasting Impact
On the way back, I found myself looking at the minute details - I recognized small seeds from yellow birch trees on the trail, the scattered pattern of cone debris that indicated squirrel, as opposed to bird, activity, and yes; scat from a variety of small animals. In fact, I correctly identified weasel scat on the trail just a mile before we arrived back at the trailhead.
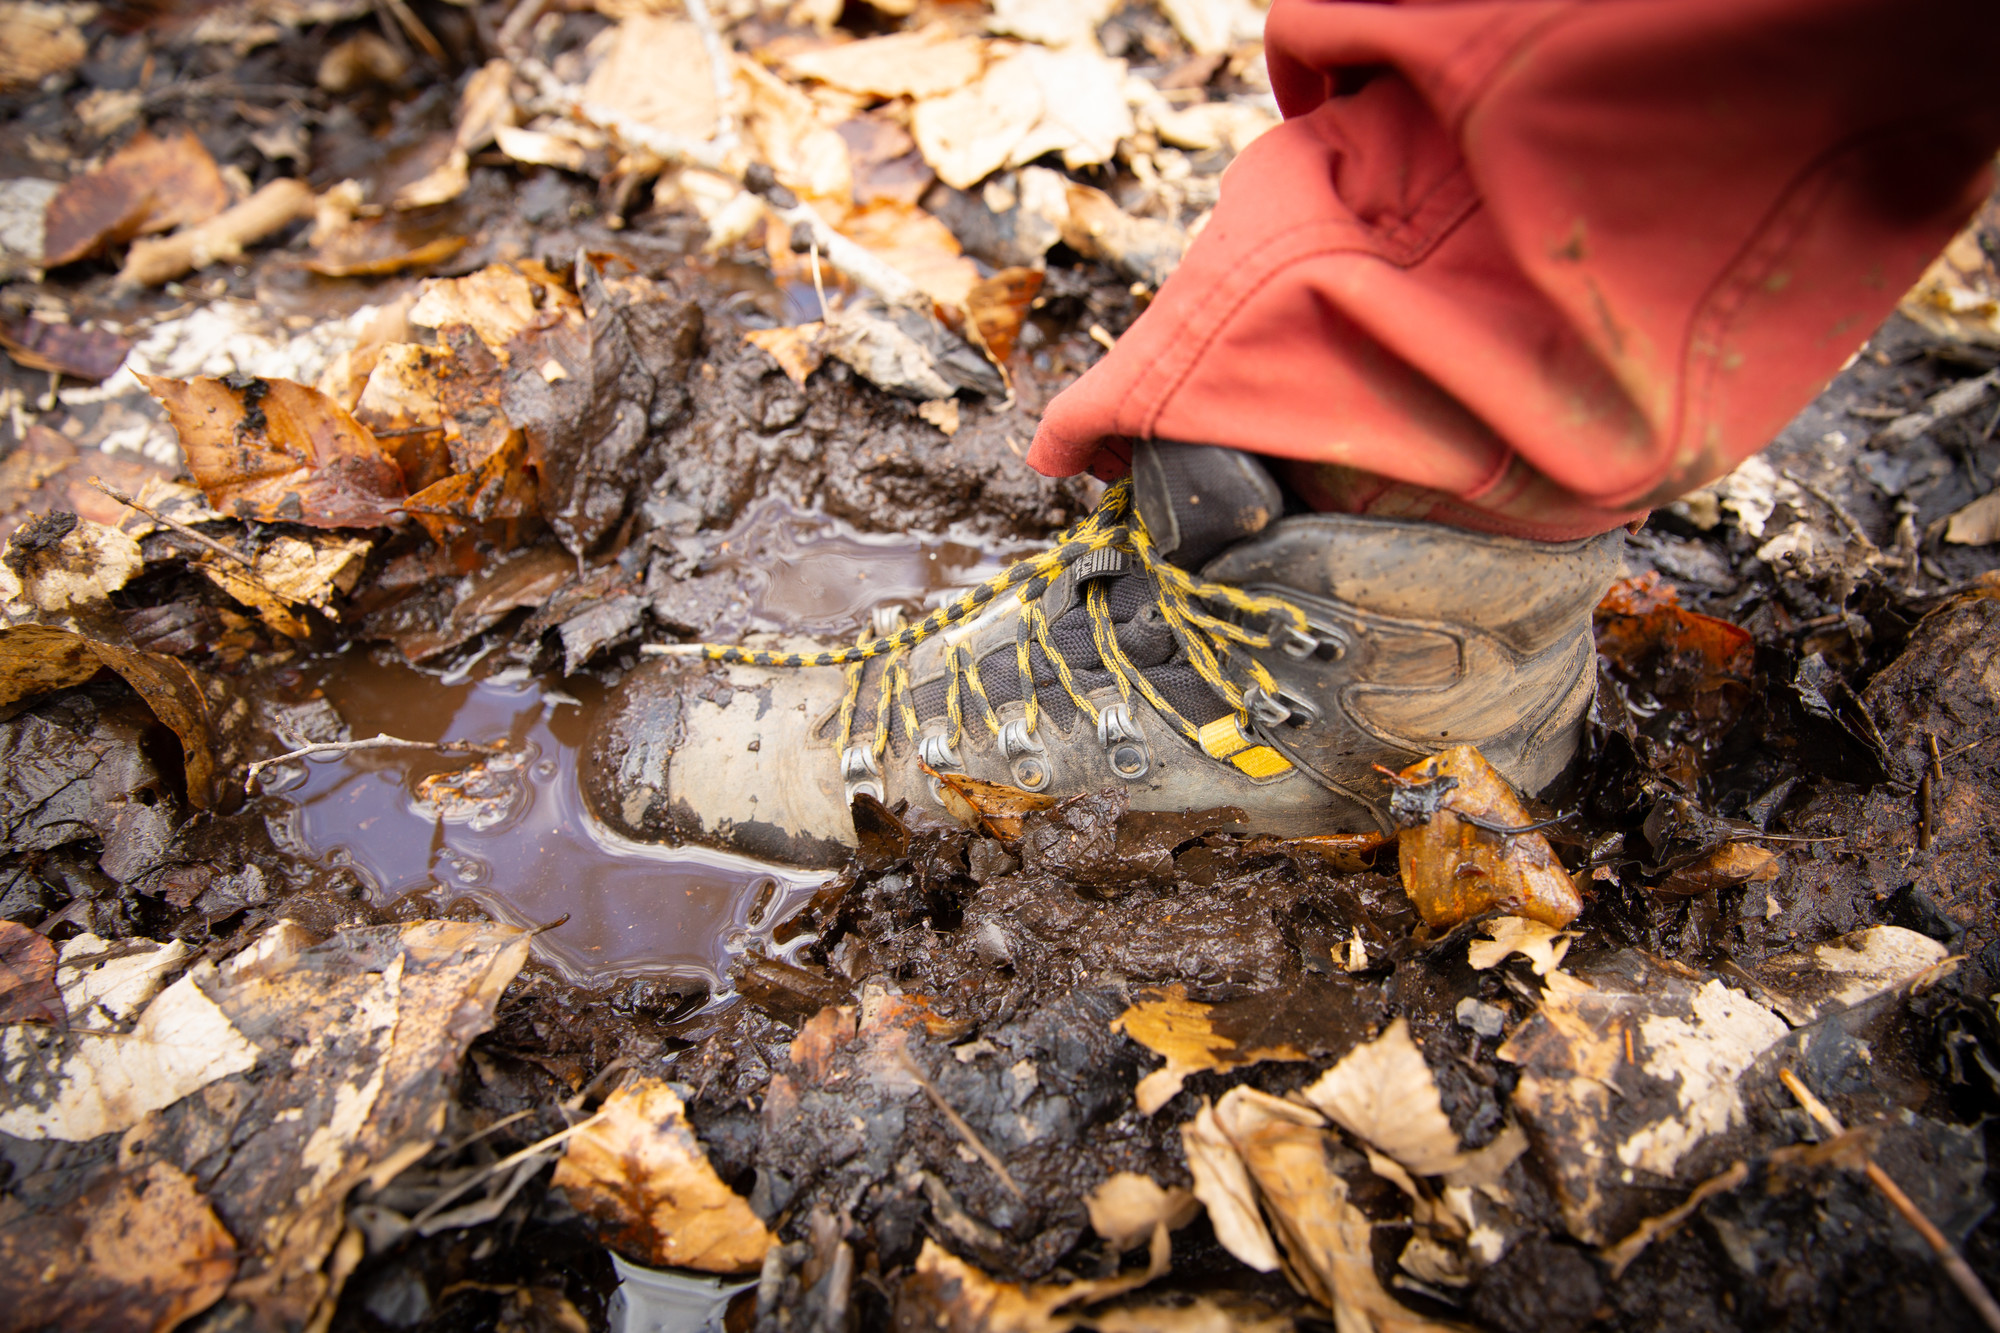
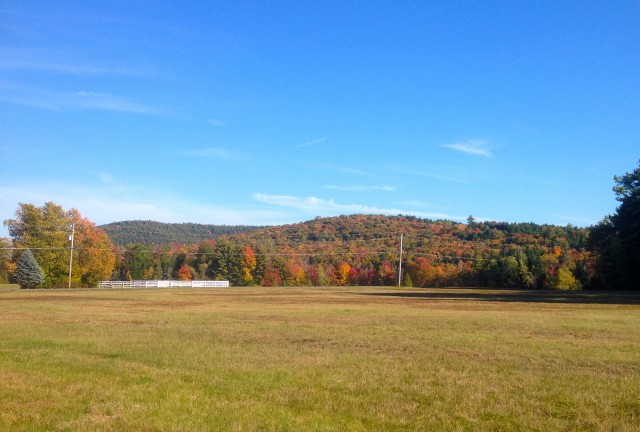
This was a beautiful walk in the woods with a variety of water, swamps and small hills that - in contrast to the fairly flat terrain - looked bigger. I have returned to explore numerous trails within the Pharaoh Lake Wilderness, which offers easier rolling terrain such as that Oxshoe Pond hike, and more challenging hikes such as the trail up Pharaoh Mountain itself.
I took with me from this one introductory experience a newfound appreciation for the small details and nuances of the flora and fauna in our Adirondack woods, and that perspective inspires me every day as I explore my own backyard.
As a bonus, that appreciation even extends to those landscape-disrupting telephone poles. Now, I merely think of them as perch locations for a variety of raptors and songbirds.
Tradition of Adirondack Guides
From wildflower hikes, to fishing, to rock climbing and wildlife tracking I’ve now enjoyed a number of New York State licensed guide-led experiences at all different times of the year, and I’m an outspoken advocate for taking advantage of their expertise.
After all, Adirondack Guides have been helping us non-woodsmen to explore the Adirondack wilderness since the early 1800s. Early trappers, hunters and writers used local guides and their guideboats to navigate this landscape. Today, they are licensed by the State of New York after a rigorous and difficult training period, which also includes current certification in First Aid, CPR, and Water Safety.
Take my advice: Hire a licensed guide for your next Adirondack adventure. It changes your perspective for the better!
—Kim Rielly is the director of communications for the Regional Office of Sustainable Tourism, and didn’t exactly pursue a career in art.