Save your knees and gain two extra feet
“What should I look for in a trekking pole? Do they really make a difference?”... I get questions like this a lot while out on the trail. While trekking poles are relatively simple to use, they can be confusing to purchase. Not only are there several different brands out there to choose from, but you have key features to consider like materials, basket size, suspension or no suspension, grip ergonomics, weight, etc... What I am going to attempt to do now is give you a bit of an overview and a lesson in trekking poles.
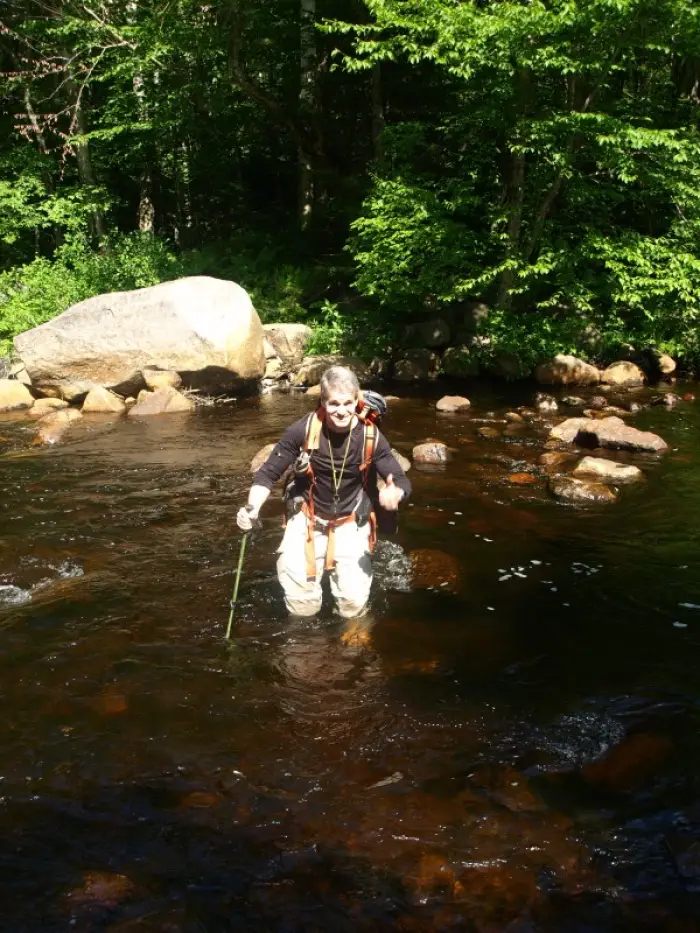
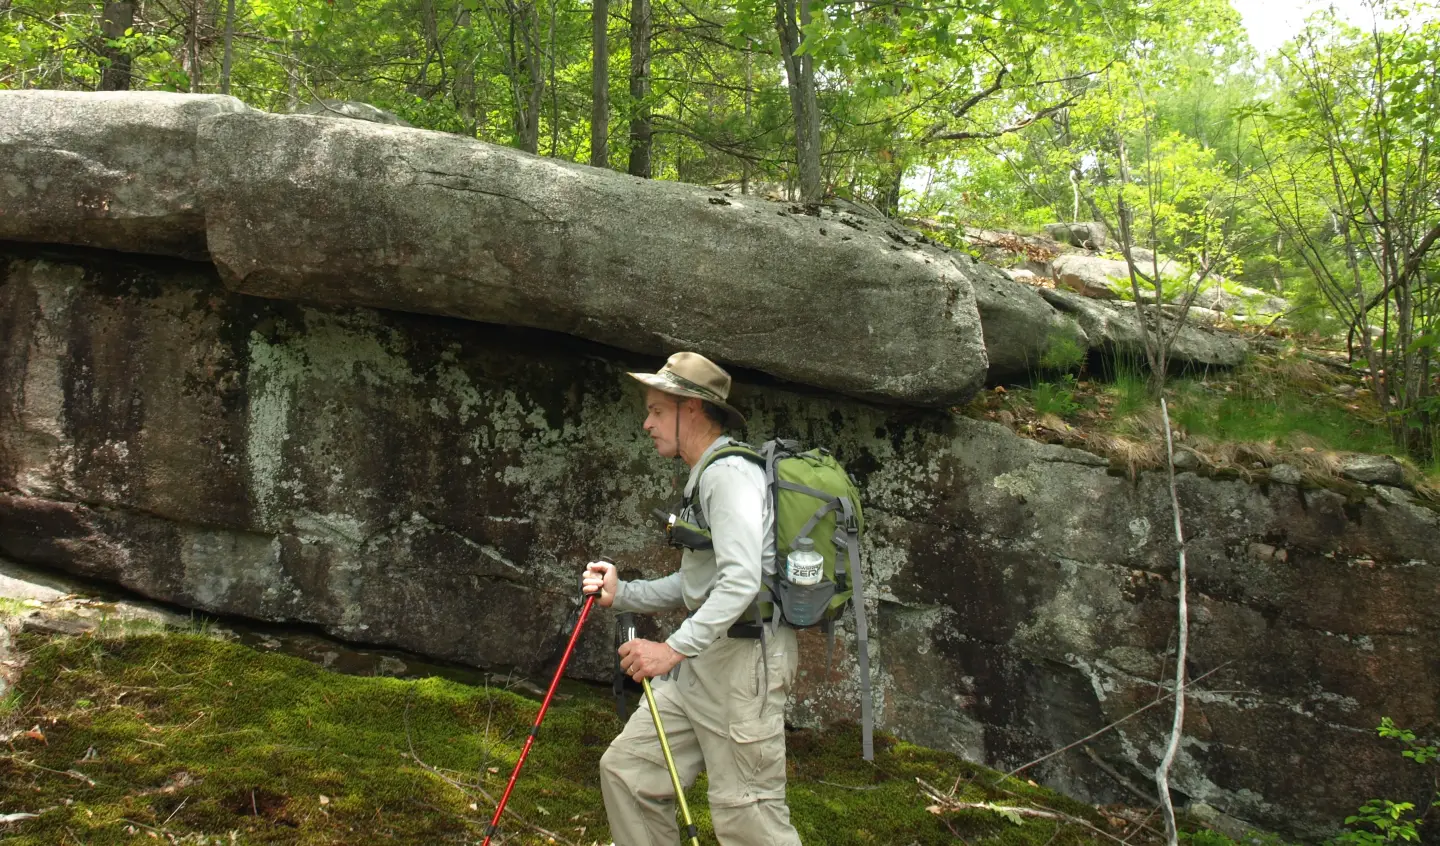
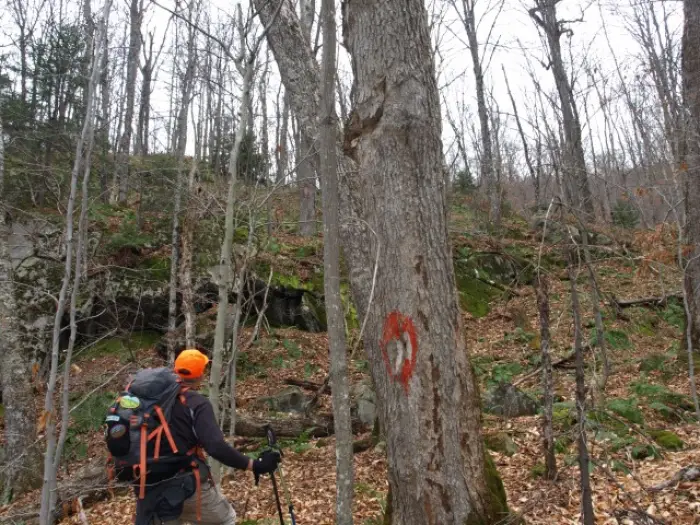
Trekking poles are a love/hate relationship with hikers. I love them, because I love my knees. I find that trekking poles give me added power going up by incorporating the use of my arms more, and creating a lifting power so to speak. When I am in descent mode I find them to help me be more efficient, and they aid in prolonging the life of my joints, particularly in the knee region. When crossing brooks or rock-hopping, they give me two extra points of contact for outstanding balance and mental comfort. However in some cases they can be a hindrance or get in the way - for example while bushwhacking through thicker terrain - so in those cases I may decide to leave them at home.

So, now, here we go!
Brands of trekking poles:
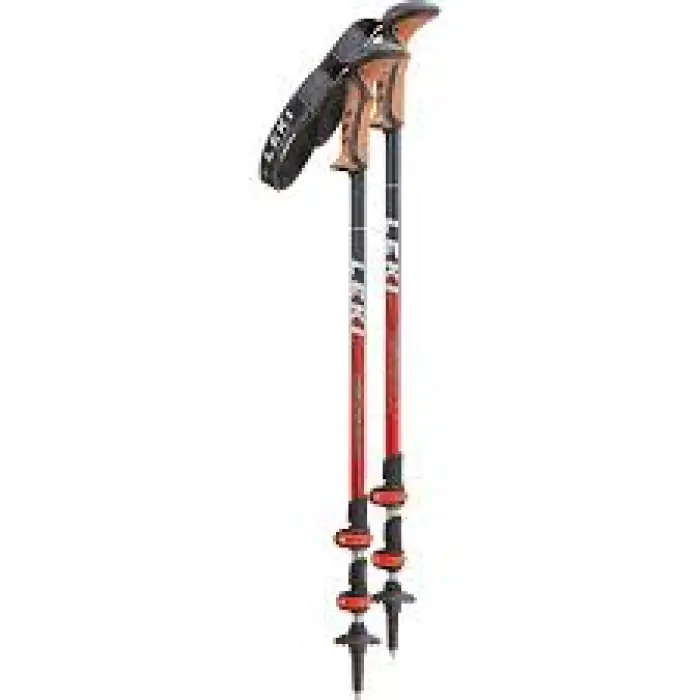
There are too many brands to list, especially since every outdoor retailer and company seems to slap their name on a pair of trekking poles. Most all snowshoe makers have their own trekking poles as well, designed mainly for winter travel. For today, we will talk about a few that are truly in the limelight as being the best and most dependable. Many of these are inexpensive, heavy and very basic. Komperdell, Leki and Black Diamond create the most widely used trekking poles in the business. They are also some of the best with warranty as well. Komperdell is reasonably priced and often the company that will slap another name on the stem as advertising. Once you get into the Leki and Black Diamond brands you can drop a bit more pocket change, but you'll get a set of poles that will last a very long time if you use them as intended.
2-section vs. 3-section:
A two-section pole is much stronger three, typically made of aluminum, and better for skiing or in situations where durability is a factor. A three-section pole has the advantage of collapsing to a much smaller, portable piece of equipment. The third section however is much less durable due to its smaller diameter. I use two-piece poles for backcountry skiing and snowshoeing because I need durability for when I face plant on a downhill section of the trail. I use three-section poles when I am hiking and even bushwhacking (on occasion). If I find they are too cumbersome while bushwhacking they collapse small enough to fit in my pack out of the way.
Materials:
Aluminum – is much heavier, and much stronger, and is a great choice for skiing due to better durability. Aluminum is the least expensive option.
Carbon fiber – is much more expensive, but is super light. The durability isn’t as high, but they can take some light abuse.
Fiberglass - is similar to carbon fiber but a bit less expensive. The durability is also similar to carbon fiber and should be treated as such. You find fiberglass in cross-country ski poles quite often.
Grip:
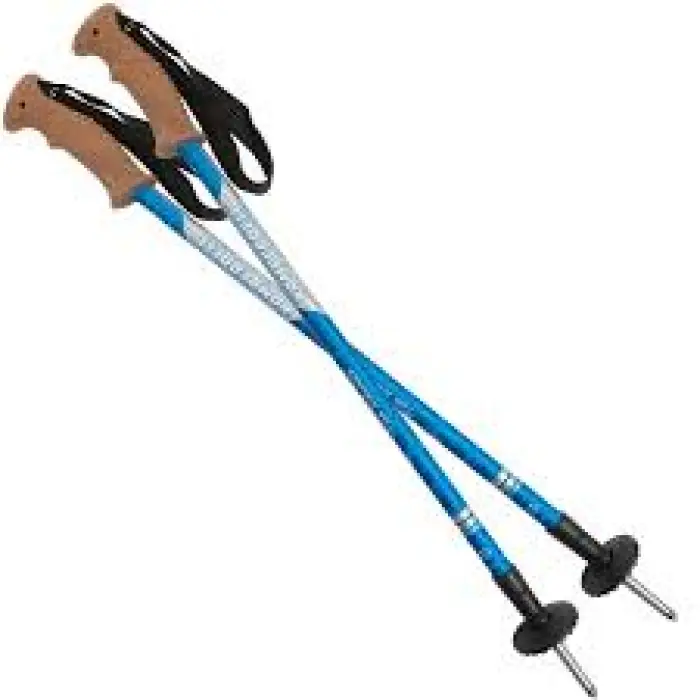
This is a personal preference I have found to be somewhat important. While many grips are made of rubber some are made of cork. The biggest complaint of cork is how fast it gets dirty and they seem to gain an odor after many uses (I can attest to this). Some grips are slightly bent for a more ergonomic feel with less strain on the wrists. Rubber, depending on the quality, is the most popular grip. If the quality is low, you can end up with black hands after a long day of white-knuckle hiking.
Basket size:
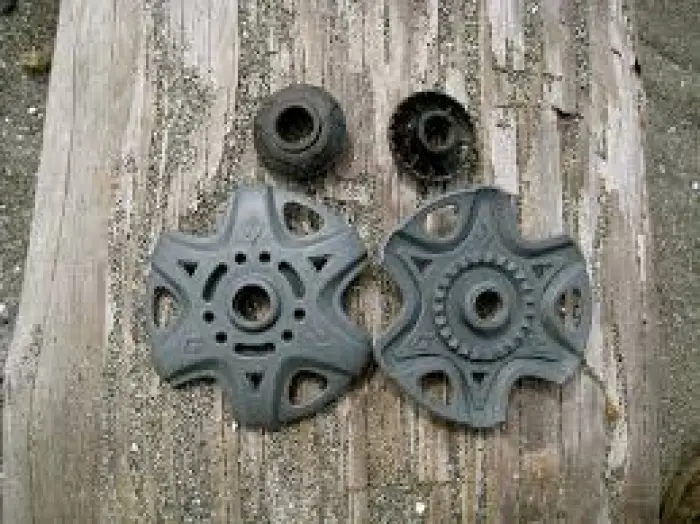
There are two basket sizes available, and some poles come with both so that they can be switched out for different uses. The smaller one is for non-snow conditions and the large one is for winter (snowshoeing and skiing). Some hikers prefer no basket when snow is not in the mix, but with no basket you won't have a stopping point in soft terrain. The larger basket in summer can get in the way and get hung up on rocks and roots.
This may sound silly but… a common error is a hiker placing the large basket over the small one, this is not correct. One must be removed first. If one is not removed the other will fall off during the course of the day.
I prefer no basket during non-snow months and especially while bushwhacking. The basket, no matter the size, seems to get hung up on rocks, roots, and branches. In winter I highly recommend the big basket or a snow basket, the added floatation will be an immense help.
Suspension:
Many poles now have a spring suspension built into the shaft or a cushion just below the grip. This suspension helps on the descent to take a bit of pressure and shock off the arms, legs, knees and back. This is also a personal preference, but the suspension does come with a higher price tag.
On some poles the spring suspension can be turned on and off with a half twist on the body. The cushion suspension is always on. Some find that suspension on the uphill climb hinders the power production your arms give you, and often lock it off.
Locking mechanisms:
There are two locking mechanisms on poles.
Twistlock – this is the original method of adjustment. The largest downfall to this is the internal locking sleeves tend to get worn out and become smooth. To fix this you can replace the sleeve or use a bit of sandpaper to roughen it back up so it will grip. In the field, use course sand or a rock to roughen up the surface temporarily.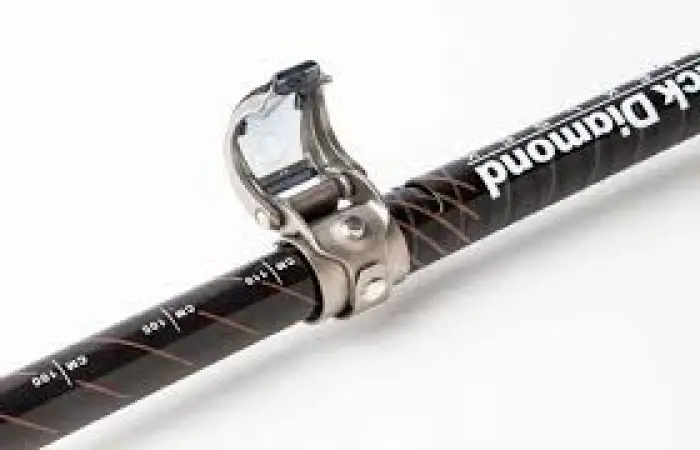
Flicklock – this is a simple locking adjustment where only a flick of the thumb locks down the pole section. The tightness can be adjusted in the field with your thumb nail or a dime. The flicklock simply pinches the two poles together to keep them from collapsing.
Do you have more questions on trekking poles? Go online to get them answered or stop into a local gear shop, maybe while you’re there, pick up a set. Many places rent trekking poles, so you do have the option to try before you buy. Need a good place to use them? The Schroon Lake Region has a ton of places to go.
