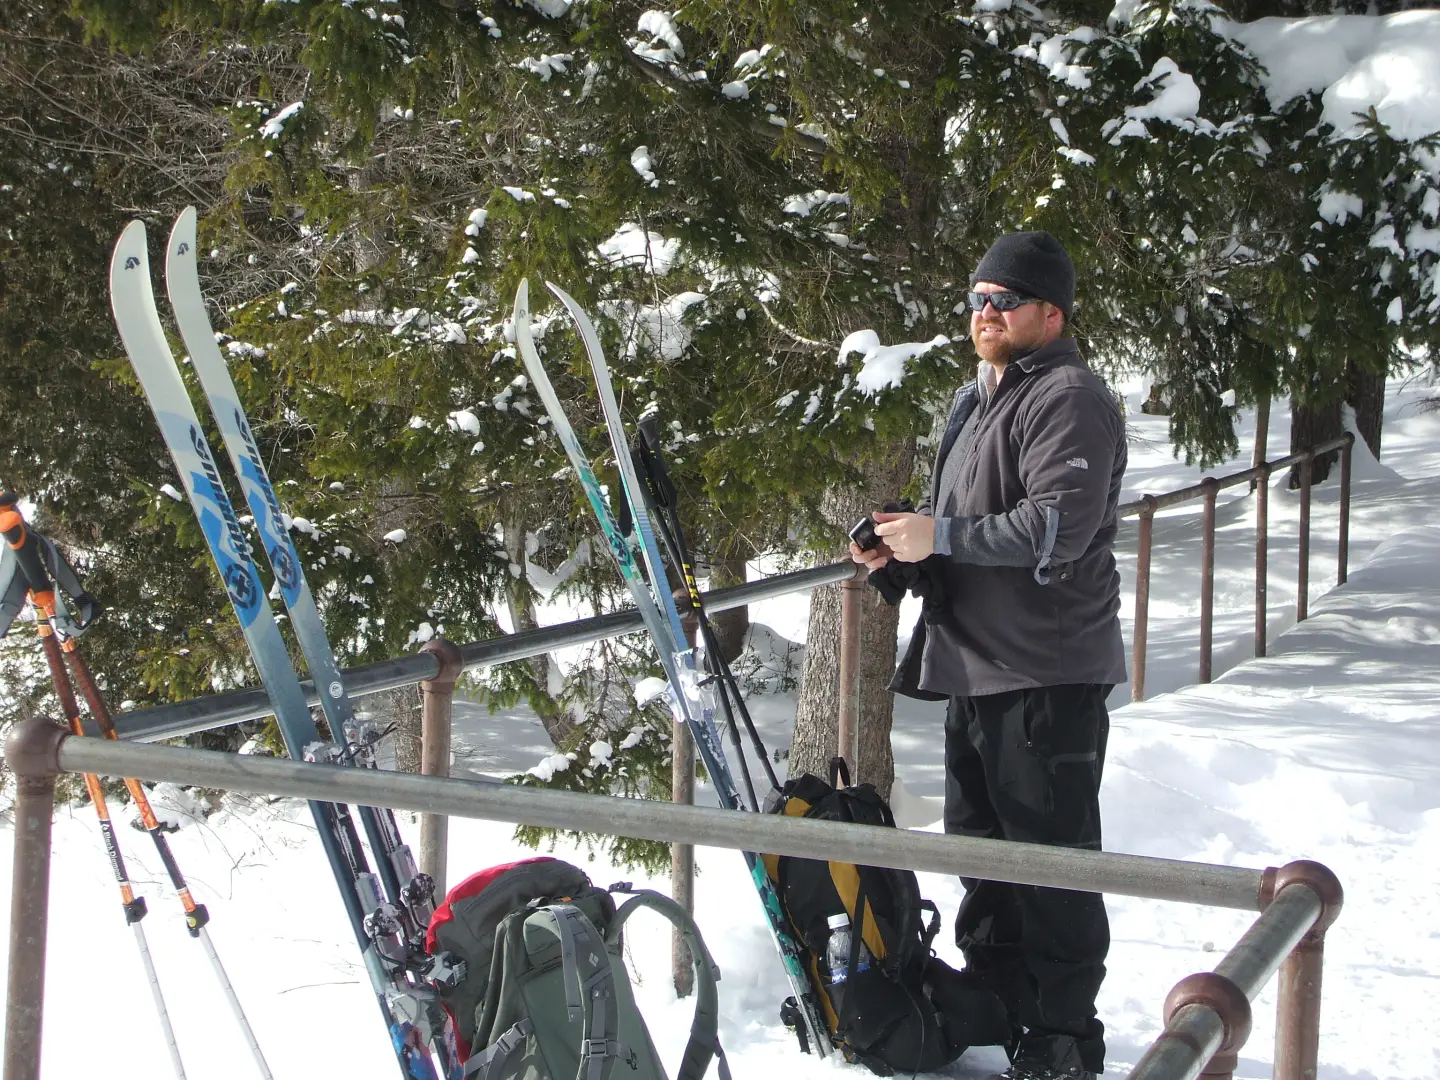
Daily storage of your winter gear
Throughout the winter season your gear gets wet then dry, wet then dry, and this process happens over and over again all season long – this can be tough on gear. The more
active your season the more important it is to take care of your gear, which in turn takes care of you. While I don’t have all the answers to extend the life of your gear, I would like to get you started in the habit. Be sure to join in if you have some tricks of the trade and share them so everyone can see. Also this blog is not for off-season storage, care, and repair, that will come closer to the spring storage season, this blog is intended to help you get through the season while your gear is in consistent use.
Snowshoe Care
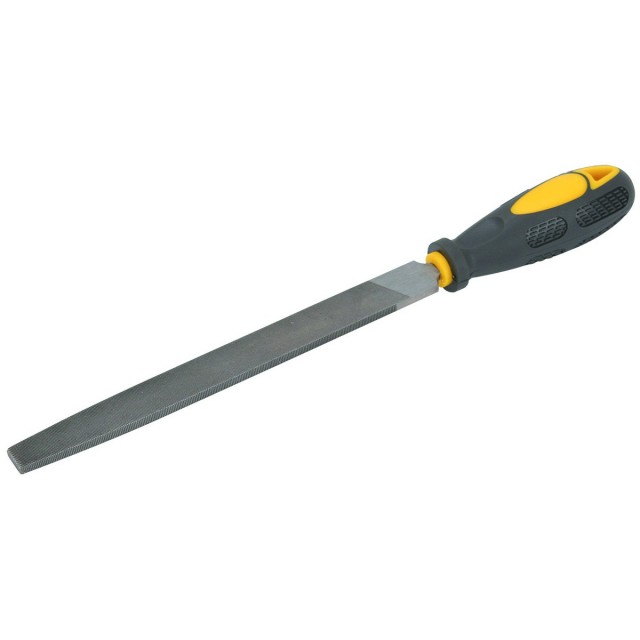
There isn’t too much to do to your snowshoes during the season. The best thing you can do is bring them inside to melt away any snow or ice build-up. Before each use it is wise to also look for any possible damage from the previous outing that could cause a complete breakdown of the equipment and your mental state when you are in the field. Crampons can be sharpened using a flat file, but do not sharpen to a point - these are not weapons, they just need to be sharp enough to do the job.
Crampon Care
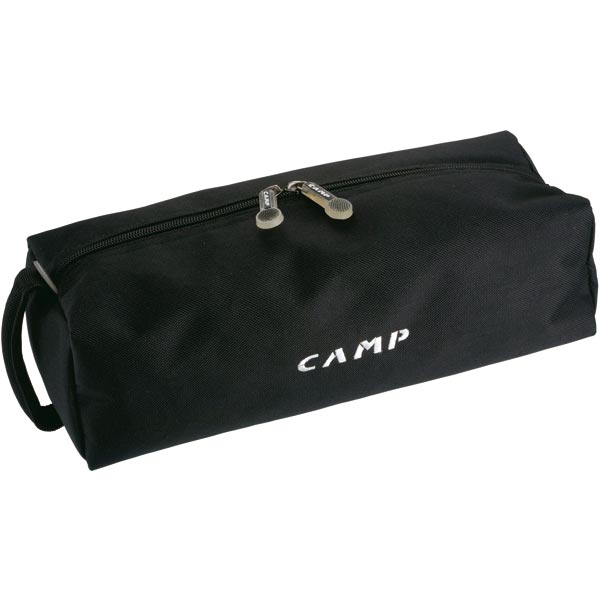
As with snowshoes, it is important to get crampons dry after each use and check for any damage before each new outing. Use steel wool to clean off any surface rust that shows up throughout the season and don’t be afraid to add a light coating of 4-in-1 oil. Crampons can be sharpened using a flat file as well, but not to a deadly point. Sharp points can break down the hardening of the metals and can be more prone to breaking. Crampons are best stored and carried in a crampon pouch or bag. This bag doesn’t protect the crampons, but it does keep the gear around the crampons from getting damaged.
Microspike Care
The same as with snowshoes and crampons, it is important to get your microspikes dry after each use and check before each outing for damage. Microspikes are best stored and carried in a pouch or bag to protect the gear around them from getting damaged and wet. Be sure to check the rubber near the grommets to locate any tearing that could have occurred. While this is very uncommon, it does happen and should be replaced.
Cross-Country Ski Care
As for your skis, bring them in at night for best protection or at least every few days to dry out the bindings and remove any ice build-up. To remove any light surface rust on the metal edges you can use a piece of steel wool. If you want your skis tuned before or during the season I recommend bringing them to a reputable place to get them serviced.
In the field you could always use a bit of F4, blue glide wax, to aid with better glide and this will also reduce wet snow from building up under the kick zone of your skis. F4 works under a wide range of temperatures, it is also inexpensive and easy to apply. Don’t leave them on top of your car all season, the metal edges will surely rust and possibly parts of your binding as well.
Pole Care
There is a simple process for maintenance of poles. If you have a one-piece pole, there really is no maintenance, just check for damage. If you have a 2 or 3 section pole simply take them apart to dry and keep them in a warm area whenever possible. If there is any dirt between the sections wipe them free before you put them back together. Periodic care is all that is necessary.
Tent Care
A four-season tent is the best way to go for winter camping for many reasons but the care for it should be the same as for any other season. When you first get your tent you should seam seal the top of the tub, which is essentially the top of the floor, typically located about 4-inches from the bottom. Also, check to make sure there are no factory defects and that all the pieces are in the bag.
When you come back from camping your tent will be wet, and in many cases frozen solid, in your pack. If you have the space, you should set the tent up inside to let it dry. If space is at a premium you should at least hang it up. Use the curtain bar in your shower and flip the tent around a couple of times to be sure it all gets completely dry before storage. If you store it wet for too long it will begin to grow mold and mildew, this can break down the tent over time, and if nothing else make it smell terrible.
Sleeping Bag Care
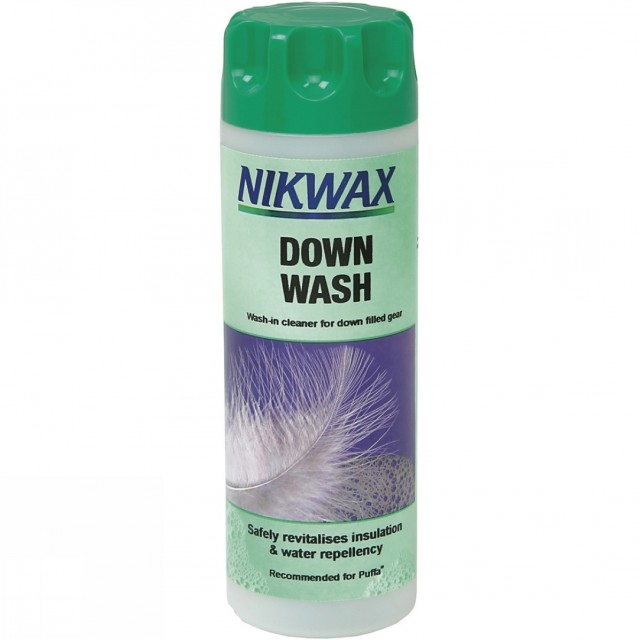
Down sleeping bags are the same as down outerwear and should be treated with care. Down should only be washed with a down wash which is free of heavy perfumes and harsh chemicals. It can then be placed in the dryer to fluff up the down balls that are created by water. Use low heat and throw in a tennis ball or two to help break up the down balls in the sleeping bags baffles. Down should only be washed in a front load washing machine to avoid water loading and abrupt movements.
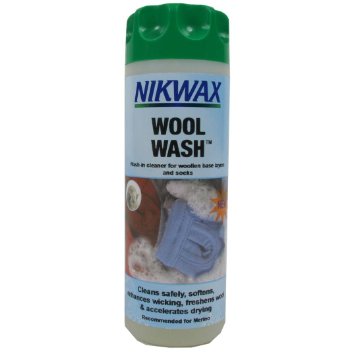
Synthetic sleeping bags are much easier to clean. They should also be put in a front load washer only. Synthetic fillers can also bunch up when washed and should be dried in the same manner as a down sleeping bag.
Storage is important and should not be overlooked. All bags should be hung and/or stored flat if you have the room. I realize this is not an option for many people. You can also store your bags in a large storage sack or laundry bag. The important thing is to not store them compressed for a long period of time. Extended periods of compression can mat the fillers and over time they'll lose some of the loft and warmth ratings. Also, rodents love sleeping bags, so keep your bags in a bin if you can - especially if you are storing them in a basement or an out building.
Backpack Care
These are simple to care for, but often get overlooked. If the inside of your pack stays dry you don’t need to do too much other than hang it up. If the inside of the pack gets wet all you can really do is empty it and hang it upside down to drain and drip dry. If you feel the sudden urge to wash your pack, it is best to just hand wash with a cloth and light detergent as needed. Dirt adds character, don’t fuss over it.
Outerwear Care
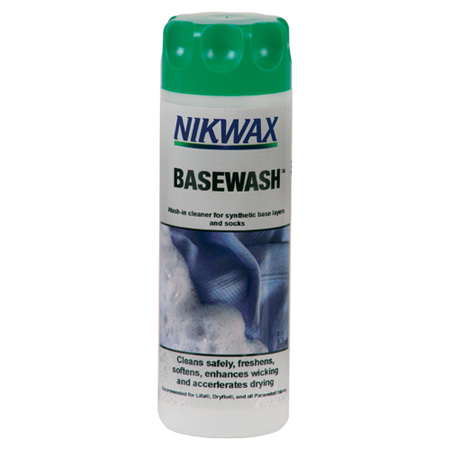
Base-layer: Cold water is best to clean your base-layers. You can by a wool wash specifically for the wool, or a base wash for both wool and synthetic materials. You can also put them in your regular wash although the perfumes in the detergent are said to breakdown the fibers quicker, I have not found this to be the case. The base wash is a bit of a different compound and is typically used for base layers with a lingering odor. Oh, DO NOT PUT IN THE DRYER, they will shrink. If you do try the dryer, use a delicate cycle and even then there's the potential of shrinkage - just hang it, they dry very fast.
Fleece: This should be done to the instructions on the garment. Many brands of fleece like to pill when washed with other materials, especially if the other materials have
excessive buttons, velcro closures, and buckles. Velcro is not a fleece’s best friend and can do more damage to your jacket than a spruce tree. Fleece is best washed in a
separate load or with other like materials.
Waterproof/Breathable: It is best to wash these pieces with a detergent designed for this type of clothing. Using regular detergent tends to not rinse off well enough and over time will clog the pores of the jacket making it less breathable. Wash with like garments and no more than 4-pieces at a time. For heavily soiled pieces, be sure to rinse off all excess dirt before putting in your washing machine.
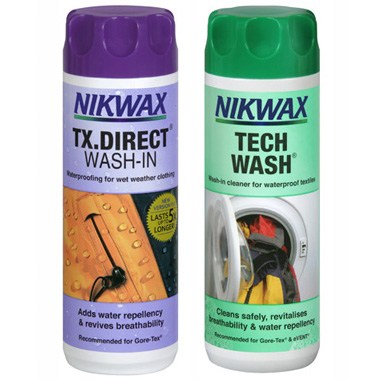
Drying can be done on low temperature if needed, but not typically necessary because they tend to dry quickly. Drying on a low temperature can also take back some of the waterproofing that was manufactured into the material.
Putting waterproofing back into a material can be done with a spray on or wash in waterproofing substance. Use the spray on for outerwear that is lined or insulated. Using wash-in waterproofing is perfect for shell jackets or pants. Using wash-in waterproofing on insulated pieces can cause the pores to get clogged and in turn lose some of the
breathability.
Gaiters: Brush off any excess dirt, mud, or debris. You can throw gaiters in the washing machine but be very careful about what materials you put in with them, the velcro can make a mess out of other gear. They are best hand washed in a laundry sink or bathtub then hung to dry. To keep their shape, it's best to store as flat as possible or to hang with the velcro sides mated.
Hats, Balaclavas, and Gloves: Depending on the material, washing is typically very easy and can be mixed in with your regular laundry. Best if mixed in with similar outerwear—fleece with fleece---waterproof/breathable with waterproof/breathable and so forth. Hang dry to avoid shrinking and use cold water as well. Warm water will be OK, but hot water should be avoided. Presoak and hand scrub heavily soiled gloves and then wash in cold water.
Down Clothing: See above down sleeping bag care and follow the same procedure.
Boot Care
Boots can be washed best by brushing off excess dirt as needed and often, and then hand washed. To dry your boots you need to be a bit more careful. Excessive heat is bad for glued seams and leather. Excessive heat, such as placing them on or near a heater will dry out the glues which can cause a shoe to break down much quicker. High heat also dries out leather which also causes sewed seams to break down and the body to crack. Do not place in dryer it’s not good for the boots or your dryer.
It is best to remove the foot bed before you start to dry them to allow for adequate air flow. Then you have the option to leave them alone in a dry, warm environment, if you are not in a hurry. If you are in a rush you can stuff them with newspaper to soak up the excess moisture. You can also purchase boot stacks that simply move air into and around the inside of the boots, these work like a charm.
Electronics Care
So you think your GPS or camera didn’t get wet, think again. Whether in your pocket or in a carry case moisture gets in, especially once they hit warm air. Ever see someone wearing glasses walk into a shop and their glasses instantly fog up, this happens with your electronics, too. When you get home take your electronics apart to air dry. Take out the batteries, take off the lens cap, open up the compartments, extend the lens to zoom, and set them all someplace safe. Wipe any excess moisture off the lens and body with a soft cloth or lens cloth.
Still have questions, give me a shout right here. You can also stop into a local outfitter for details, and while you’re there be sure to see what they have for the care products you need. Looking to hit the trails so you can try out these handy tips - check out these great snowshoe and cross-country skiing options!
